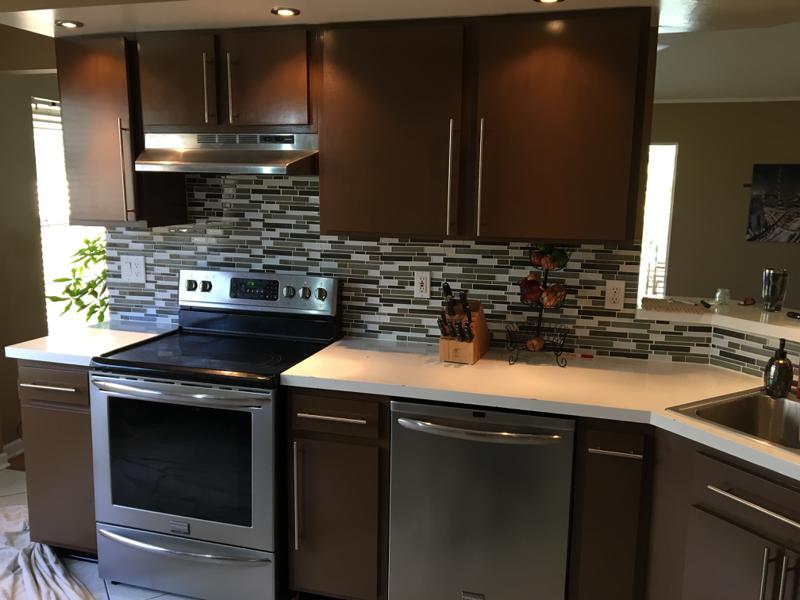
Maybe your kitchen cabinets are in need of a refresh. Cabinet painting can be a fantastic way to make your kitchen look great at a very cheap price. A long weekend, and you could make this happen yourself. If you need assistance however, please don’t hesitate to contact our cabinet painting professionals at Independent Painting.
Supplies Needed to Paint Kitchen Cabinets
First off you’ll need to gather supplies up to get ready to paint your kitchen cabinets. Here’s a nice list to get you started.
Materials
- Sandpaper- Various grits, from coarse to fine.
- Wood filler – In case you have to make any repairs
- Paint – High Quality paint that is suited for your cabinets.
- Primer – Choose a type that is suited for your cabinets
- Drop Cloths – For your painting area
- Painter’s Tape – Especially used to protect the ceiling and floors
- TSP (Trisodium Phosphate) – A cleaner and degreaser(important for kitchens)
- Paint Stripper (Optional) – If you need to remove the previous paint
- Shelf Liners (Optional) – If you’re going to put them down afterwards
- Cabinet Hardware (Optional) – A cheap way to upgrade the look of your freshly painted cabinets
Tools
- Shop Vacuum – Home remodeling is messy.
- Drill / Driver and Bits (Optional) – You’ll be removing the cabinets
- Buckets – For trash and for gathering hardware
- Paint Roller Frames and Foam Covers – Well we are going to paint, right?
- Painter’s Trays and Liners
- Dust Mask / Painting Safety Mask – Especially if the cabinets are older and might have lead based paint
- Putty Knife – For applying the wood putty
- Paint Brushes – Don’t go cheap here, get good brushes
- Painter’s Tripods – This is a cool tool that is necessary for painting cabinets. They allow you to prop the cabinet doors up while painting
- Rubber Gloves – Some of the materials are caustic so make sure you wear protection.
- Eye Protection – You should always wear eye protection when doing home remodeling work
- Work Gloves (optional)
- Screwdrivers – For removing the cabinet doors
- Sponges – For cleaning up messes
- Ladder – To reach upper cabinets easily
What to know about Paint for Kitchen Cabinets
- You may need a specific type of paint for your cabinets. Depending on whether your cabinets are Wood, laminate or some other type of material.
- Laminate cabinets require a special bonding primer. Do not forget this as the paint won’t stick if you don’t prime it well.
- It’s not necessary to buy special cabinet paint, any high quality paint should work if applied correctly.
- You should use acrylic not vinyl paint. Acrylic paint applies evenly and is easy to clean in a space like the kitchen.
What finish should I use in my Paint?
- Gloss finish is shiny but will show any imperfections in the paint.
- Flat finish is very difficult to clean.
- Semi-gloss or Satin finishes generally give the best results for cabinet painting.
- Always read the instructions for your paint.
Prep your cabinets for painting
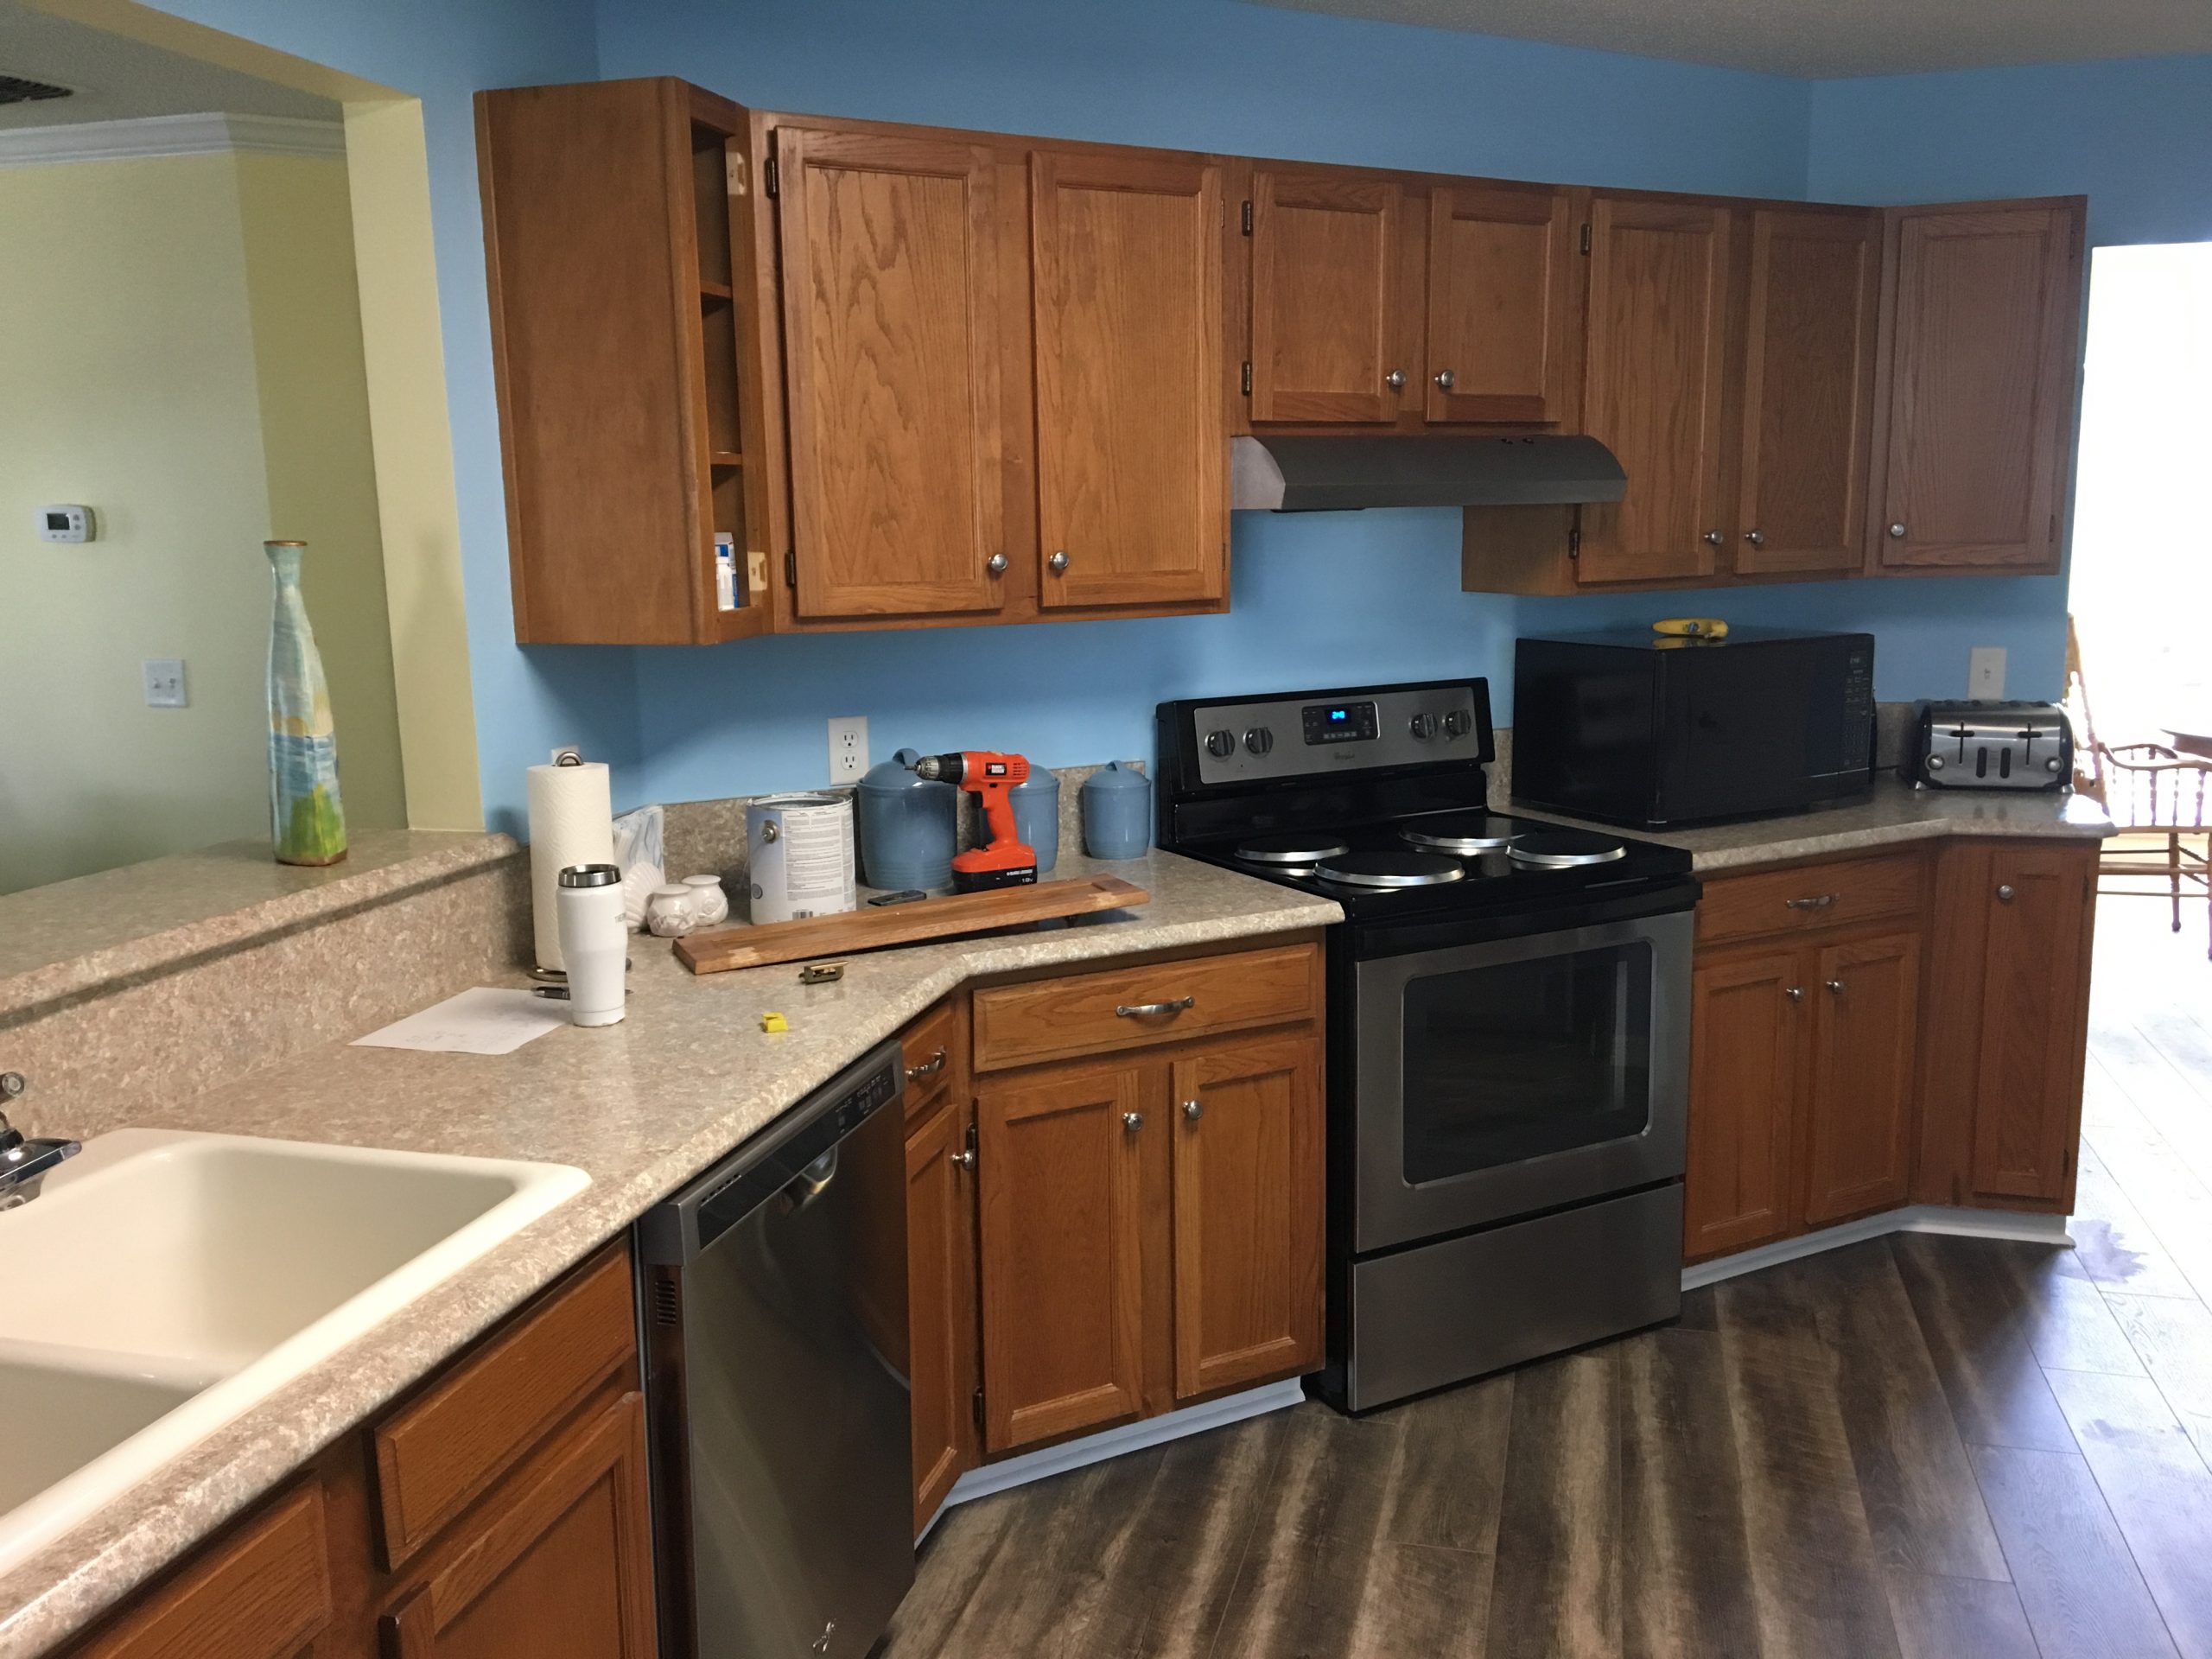
First check to see what condition your cabinets are in. If they have previously been painted then you can generally paint over them. If the paint that is on them now is in bad shape you may have to strip the cabinets to prepare them.
You should remove the cabinet doors from the cabinets with a drill or a screwdriver. Make sure you keep all of the hardware and screws in a safe place. Label the doors with a clear indication of where they should go after they are painted. Use painter’s tape to label the doors.
How to Strip and Prepare Cabinets
- First clean the cabinets of any grease on them. Use Trisodium Phosphate if necessary.
- Apply a Paint stripper to the cabinets. Wait until the paint starts to react to the stripper.
- Using a plastic scraper, remove the paint from the cabinets. Be careful not to press too hard and damage the underlying wood.
- Let dry
- Use sandpaper to remove any remaining paint.
- Always beware of lead-based paint if it was possible the paint is from pre-1978.
Make any repairs you need for the wood using wood putty and a putty knife.
You’ll want to also sand the cabinets and cabinet doors with a medium grit sandpaper. Try folding the sandpaper to get the nooks and crevices of the doors.
Finish up by using your shop vac to remove all dust from sanding. You absolutely have to make sure you don’t have stray dust as that will mar your paint finish.
Prime Your Kitchen Cabinets
Priming your kitchen cabinets is one of the most important steps you’ll have to take. It’s vital to making sure that your cabinet paint gets applied correctly to the cabinets and that you get a long lasting and beautiful finish.
Primer is more about getting an even coat on the surfaces, it doesn’t have to look pretty it just has to have full coverage.
After you’ve applied the primer, go back over the painted area with a dry roller. This is to remove the excess paint, this is called “laying off”.
Painting the Kitchen Cabinets
Now comes the good part, painting the kitchen cabinets. It’s important that you’ve done the proper steps above so that when it comes time to paint your cabinets you can do it well.
Professional cabinet painters like Independent Painting use paint sprayers. For most people it’s better to use paint brushes and paint rollers. Use a high quality brush for smaller areas and foam rollers for larger areas.
You should start with the cabinets first, and then follow up with the doors and drawers. When working on the doors start with the back first, and then work on the front. Make sure you make use of the painting tripod, it really does make the job much easier.

What to do with Cabinet Hardware
This is usually a pretty good place to spend a little extra to upgrade your existing hardware. When we say hardware, we mean the hinges as well as the door handles. It’s a great place to invest in something that will give you a little pizzazz.
Alternatively you can refinish the hardware. Many older cabinets have brass fittings that could be polished to bring back the original shine. You can also choose to paint the hardware as well. Using more or less the same steps as you would approach your cabinets.
Reassembling the Kitchen Cabinets
If you wanted to put shelf liners into the cabinets, we recommend doing that before you reattach your cabinet doors. The shelf liners are great for giving an updated look to the interior shelves.
Now that you have the cabinets completed, feel free to get ready to reassemble the cabinet doors on the cabinets. We recommend making sure that you match each door to it’s home BEFORE you start attaching. There’s nothing worse than having to take everything back down because you put it in the wrong place first. The labels we applied earlier in the process will help tremendously at this point.
And that’s it, you should have a fantastic kitchen that looks almost like new.
If this process looks too complicated, feel free to call us about our professional cabinet painting services.
Independent Painting
1724 Planters Rd
Jacksonville, FL 32207
(904) 729-5059
Watch this video for more specific information: https://youtu.be/HeIT8gTwAP8